DIY Concrete Stool
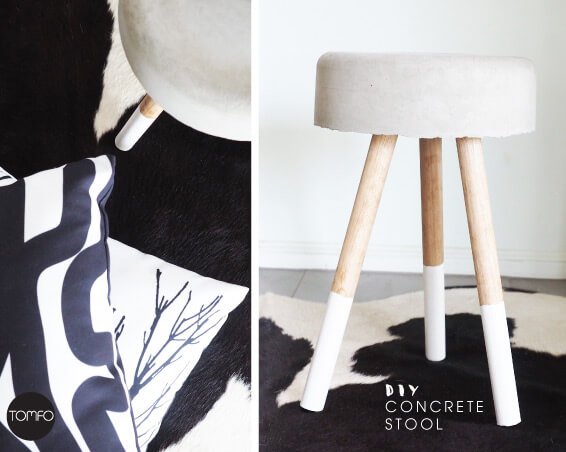
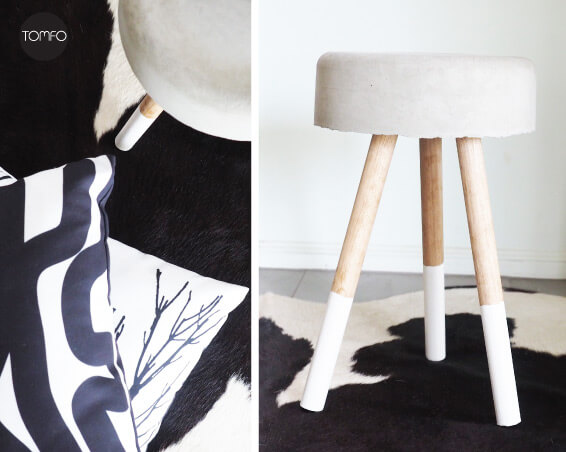
I’ve been getting my concrete on lately.
And this DIY Concrete Stool from Home Made Modern has been on my hit list, ever since I pinned it on my Pinterest DIY board.
It’s made from a bucket, concrete, some dowel and white paint.
Super easy to make and hopefully it’s going to take pride of place in our new guest room as a set of side tables.
Head over to see Bens tutorial here.
Or check out how we made it below.
DIY Concrete Stool/Bedside Table (makes 2)
You will need:
1 bag Rapid set concrete
20L Bucket (we bought ours from the hardware store)
Cooking Oil Spray
Dowell rod 2.4m in length (cut into 40cm lengths)
Sandpaper
White Paint
Painters Tape
Water to mix with and a stirrer

How to make a Concrete Stool/bedside table
1. Gather your materials. Cut the dowel into 6 even lengths, (we cut to 40cm each.) Then sand the ends so they are smooth.
2. Spray the inside of the bucket with cooking oil spray. (It makes it just slip out at the end)
3. We marked 7cm points on our bucket, so we had both stools at the same depth.
4. Then mix the concrete with water to a batter consistency.
5. Pour into the bucket, stopping at the dots marked, and give it a few good taps to get the air bubbles out.
6. Then push the dowel into the centre to form a triangle shape and lean the legs on the side of the bucket.
7. Let set for 48 hours.
8. Then gently flip over and remove the bucket.
9. Using painters tape mark off the same height around the legs, paint and once dry remove the painters tape and you are done.
Let this dry for a few more days, (you can see the concrete change colour as the days pass, see our final pic)
I love how these turned out, I’m not sure about the strength for a stool, but I think they will be great as side tables in our guest bedroom,
teamed with some of my Yamba Scandi Cushions and a neat pendant light hanging over the top.
Thanks for an awesome idea Ben! Head over and check out more cool concrete ideas at Home Made Modern.

And the biggest news this week.
Drumroll……
We have council approval.
Yay!
And…
We’ve begun building our new dream home with GJ Gardner.
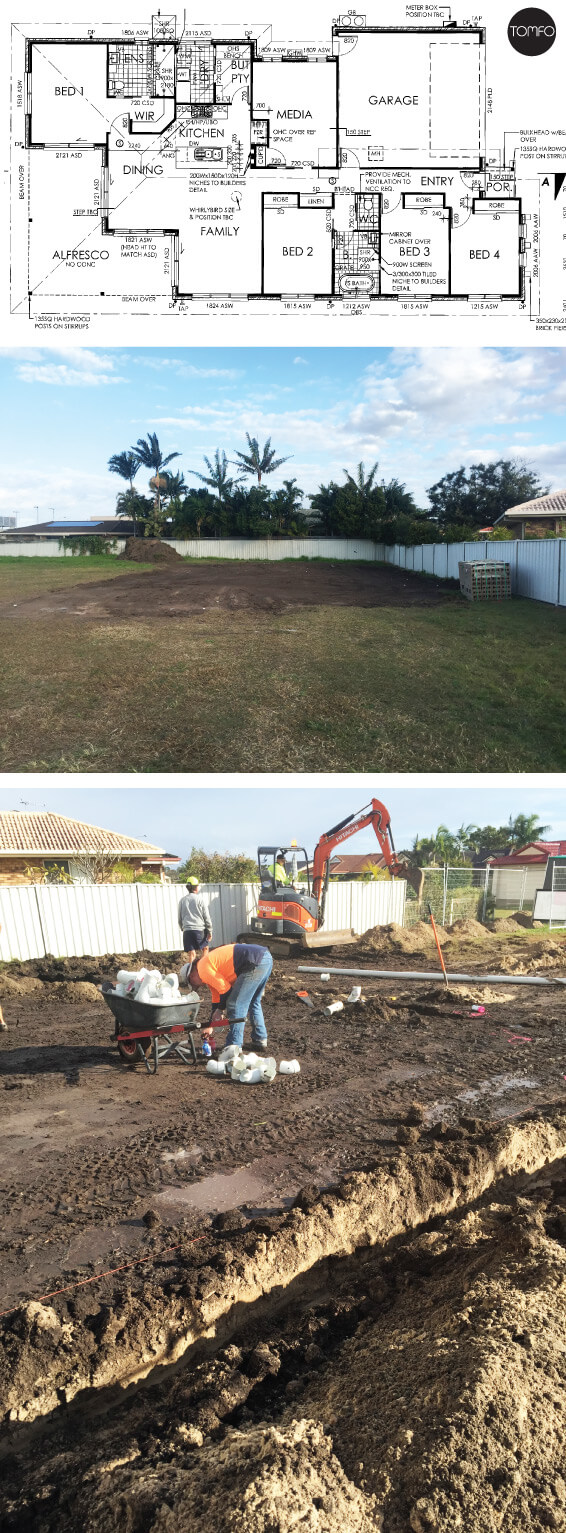
I thought you might like to see a pic of our plans and the first work on the site.
Can you tell I’m super excited?
Such a change from where we were 12 months ago, (one day I’ll fill you in on that story too.)
I took a break last week,
because we lost another one of our favourite uncles,
the upside was, I got to see my beautiful family and our extended family though, while celebrating the life of one of our favourite guys.
I’m working on a new print to add into our home, inspired by Uncle Rob.
Don’t forget to hold your friends and family tight and tell them that you love them every day. x
I thought you might like to read this story, I wish you enough, by Bob Perks, I think it is beautiful.
I wish you all enough guys. x
Live with Love,
![]()
Linking up with With Some Grace, Life Love Hiccups
Tags: DIY Concrete Stool
READ MORE POSTS
21 responses to “DIY Concrete Stool”
Leave a Reply





 Hi I'm Sarah, I'm a blogger and an artist who’s made the sea change and moved to the north coast of Australia. I love an easy DIY and making my house my canvas, my new home has become my greatest project: Yamba Scandi. Come visit me in





So sorry for your loss, Sar. It’s sad times like these we heavily rely on our family to lift our spirits.
Your DIY stool is just genius! Thanks for sharing x
Grace recently posted…FYBF – An extension of you
Thanks Grace, too true, where would we be without family and friends. x
It seems like everyone is DIYing concrete stuff, this looks great! And how exciting that your house is moving ahead!!
Malinda @mybrownpaperpackages recently posted…My Friday Favourites: Planning with Kids
Yes, I’m a big fan of concrete, and it’s easy to do. I can’t wait for more progress on the house, but I’ll just have to be patient and enjoy the ride. x
So great you tried this tutorial; your stool looks great! I balk at using concrete but you have totally inspired me to give it a go oneday!
Give it a try Rachael, I think you will be pleased with the results and it doesn’t take that long to do either. Glad to have inspired you.
Oh George, so sorry to hear about your uncle. I hope you got lots of hugs from the family. So stoked for you about the council approval. Here’s to bubbles, not troubles! Love that stool, you are too clever!
Thanks Sammie, I’ll second that bubbles no troubles. x
Beautiful stools, they look expensive and store bought. I love a successful DIY! Congrats on the council approval, I look forward to seeing your progress x A
Ashlea @ Glamour Coastal Living recently posted…Recipe: Delicious & Healthy Banana, Coconut + Goji Berry Bread
Thanks Ashley, it’s cool when you make something that looks store bought and it works! It’s part of my plan to have a few handmade things in our new house to make it our home. x
Look forward to sharing our progress and be inspired by your beautiful blog too.
Sarah, so much in this post! I’m so sorry for your loss, definitely hug your loved ones.
Those concrete stools are awesome, and I could absolutely see them as bedside tables.
I can feel your excitement to be finally starting the build. Lots to look forward to, hun xx
Thanks Lisa, I thought that as I wrote it, so much going on here. Hope you had a great weekend to lovely. x
Oh in one post I was all yayyyy that stool is gorgeous and yayyy the house.. but then your uncle… Wow it has been a week of highs and lows for you hun. I hope it is smooth sailing from here and more yays than anything else xx
Sonia Life Love Hiccups recently posted…You Asked & The Expert Answered
This is SO cool! I am very bad when it comes to DIY but I would definitely give this a try… with a little help!!!
That is COOL Sarah! x
Thank you lovely lady, so easy to make, for a cool look.
[…] tomfo.com […]
[…] zum Schreibtisch habe bei Sarah von Tomfo ein DIY für einen kleinen Hocker aus Zement entdeckt. Klassisch im skandinavischen Stil, und somit total im […]
[…] tomfo.com […]
[…] Learn How to Make Here […]
How on earth did you get your dowels to sit evenly and at the same length? Mine keep coming out crooked and uneven no matter what I try 🙁
Thanks for your help!